The Summer Scrap Elimination 2021: Week 3
- Clayton Clark
- Jun 30, 2021
- 4 min read

I'm so delighted with this week's project! It was fast and fun, cut and finished in a weekend. In fact, I liked it so much I'm already planning to make it again in cool colors.
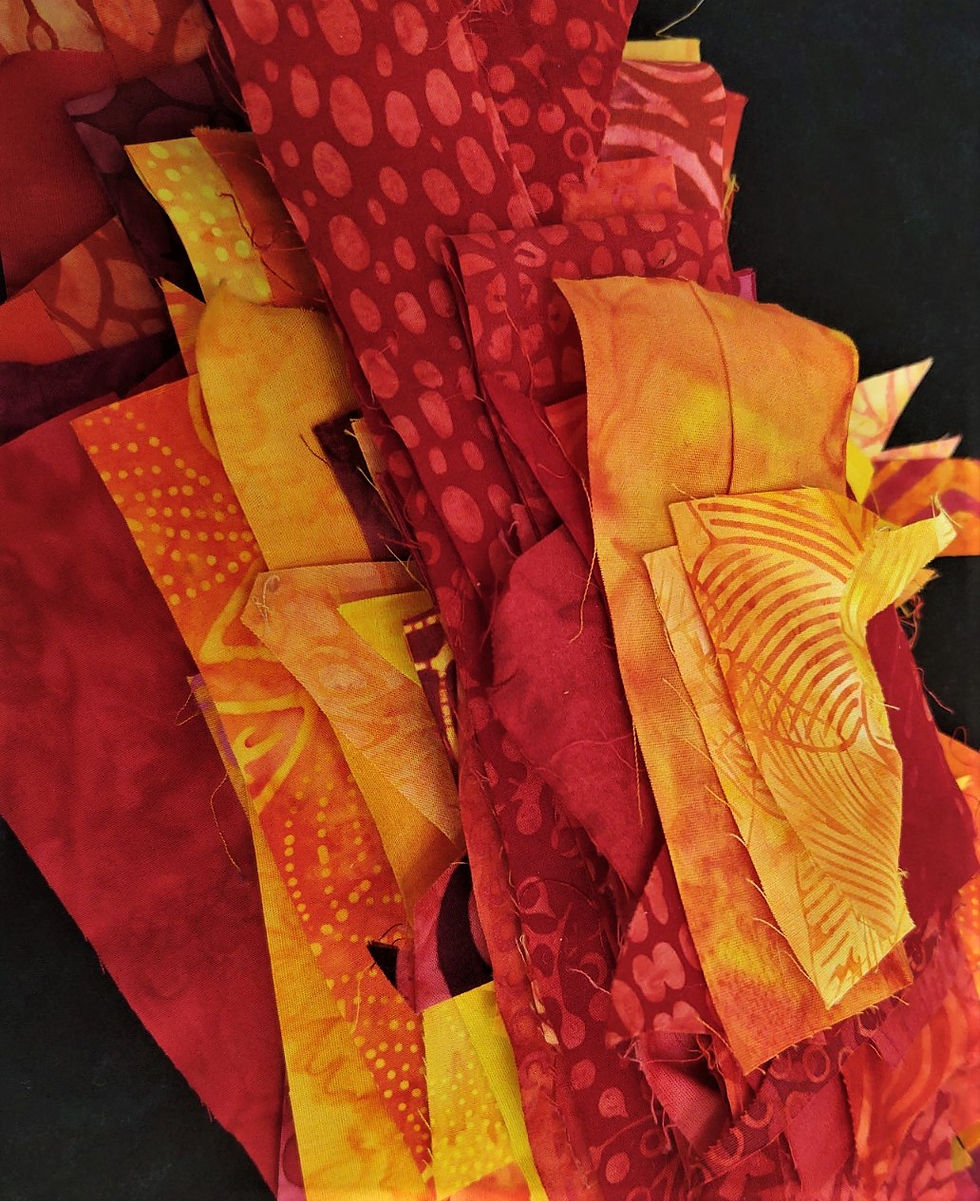
This time around, we'll be looking at working with small left overs that can be cut to the same width (in this case 2 1/2"). Because we're working with a very diverse pile of warm temperature scraps, I'm going to introduce a solid fabric to unify the scraps and create a visual resting space.
Cutting for 1 block (Finishing 8" x 8"):

Solid fabric: 2 rectangles 3 1/2" x 8 1/2"
small scraps: cut 2 1/2" or greater width X any length
I had so many small scraps that fit my color palette that I decided to make a throw for my reading chair. I wanted to make 49 blocks, which meant I would need 2 yards of black to complete a square quilt with 7 rows of 7 blocks each.

Step 1: Choose a color palette and a solid or solidish background. I went with all warms (red, orange, yellow, and warm purples) and stayed in the realm of brights.
I removed a few fabrics that were too greyed from my scrap set to pair well with the other fabrics and checked to make sure that all of the fabrics I had chosen were at least 2 1/2" wide.
A few scraps needed some pressing and I spritzed them with a little Best Press to make them a bit easier to work with.

Step 2: Get organized
I made sure my pieces were all cut straight on the top and bottom. I didn't care if the pieces were longer than 2 1/2" at this stage.
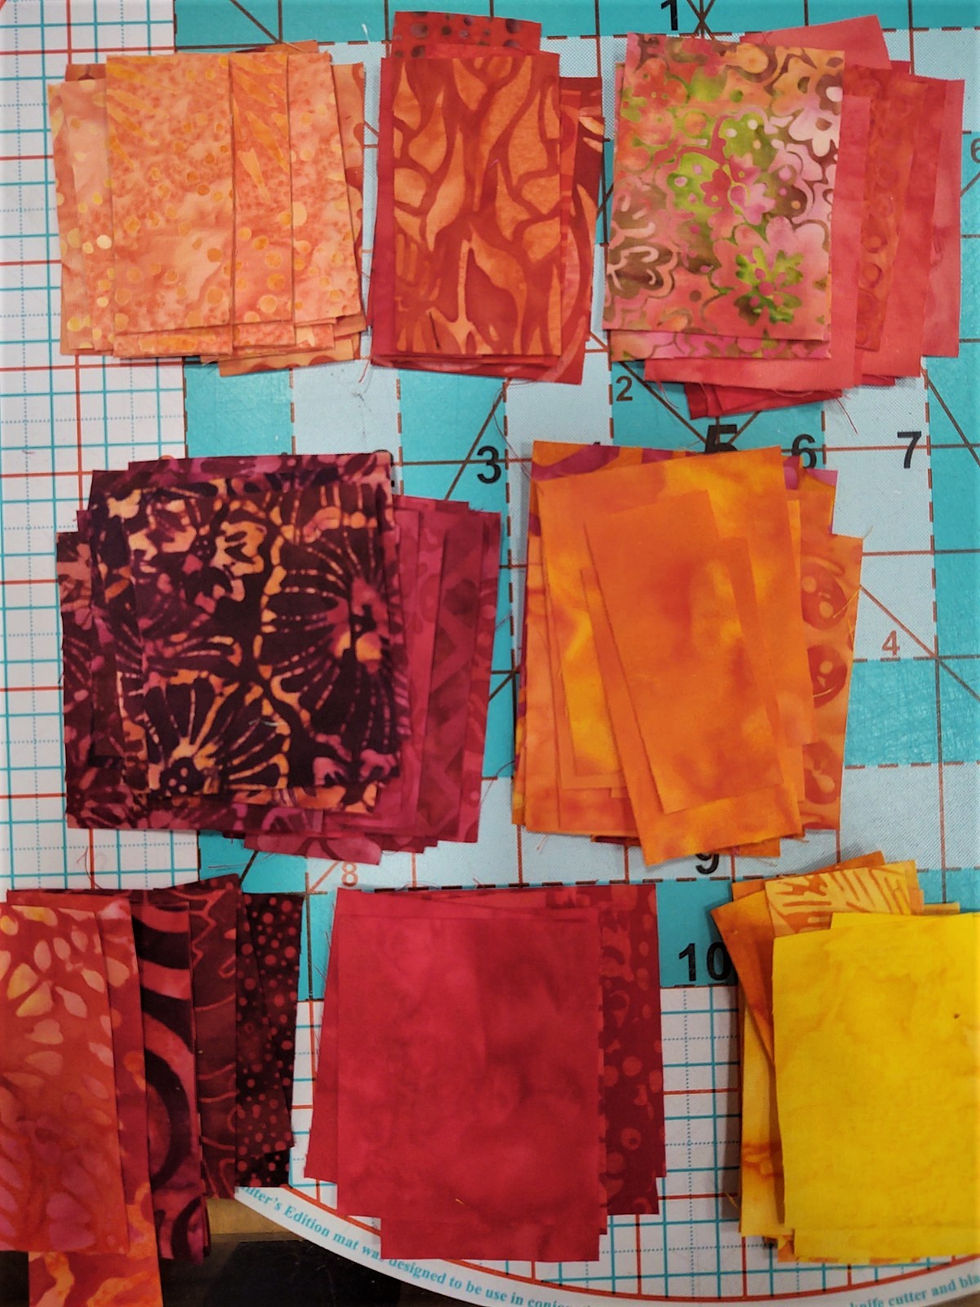
As I cut the pieces, I sorted them into piles by color and value, so I could easily choose what I wanted to stitch together.

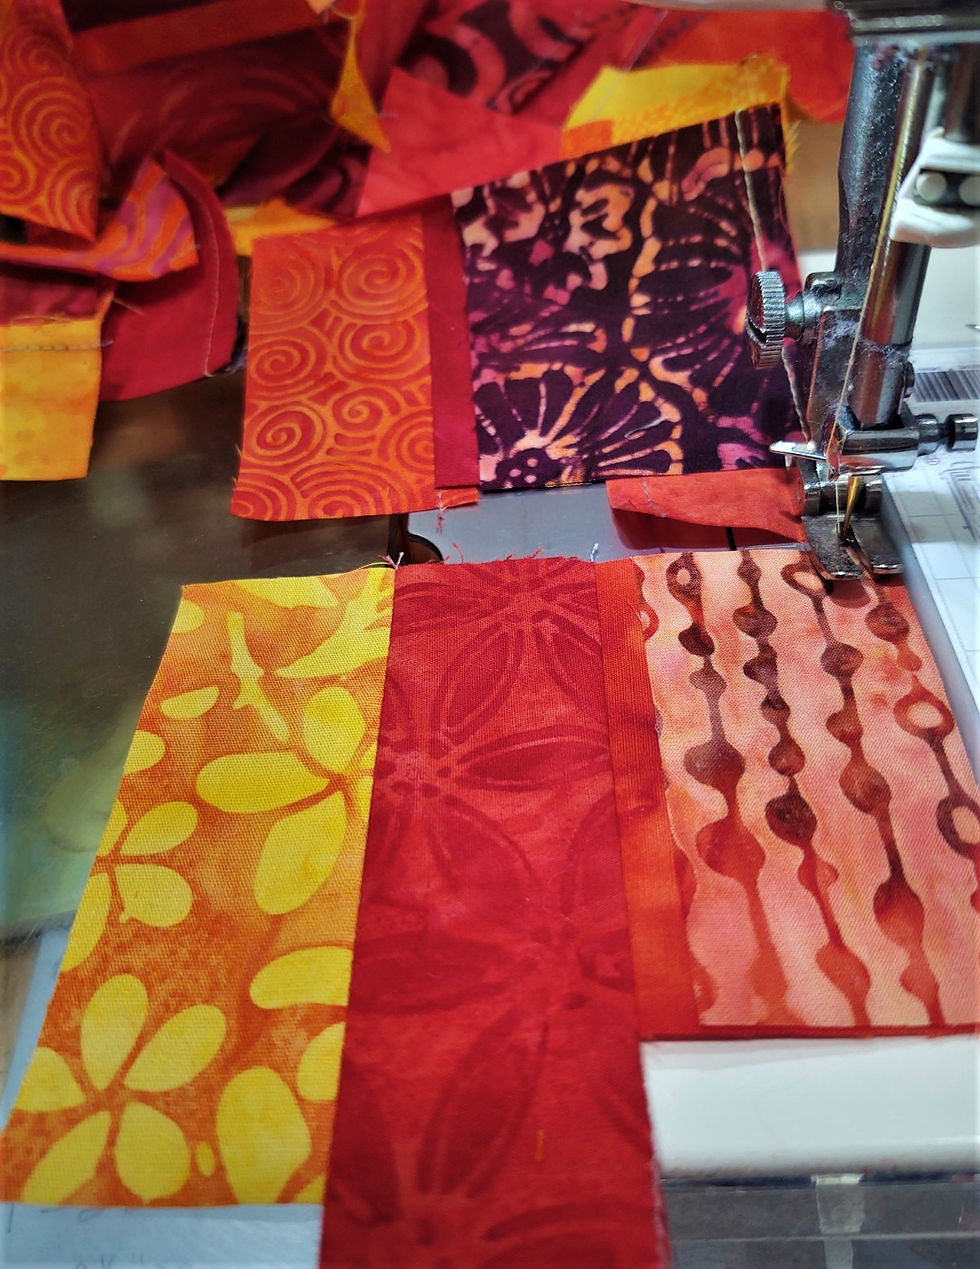
Step 3: Begin stitching the center of your blocks.
Create color combinations you like, trying to avoid putting too much of one color or value into a single block center.
Press toward the darker fabrics as you work. There are no seams to nest in this project, so how you choose to press is entirely up to you.
Since I was making 49 block centers, I chain pieced my units. I would add a new piece to all 49 centers, chain them through my machine, cut them apart, press each unit, stack them up and begin adding the next piece and chaining them through the machine again.
Continue until your block centers are at least 8 1/2" long.

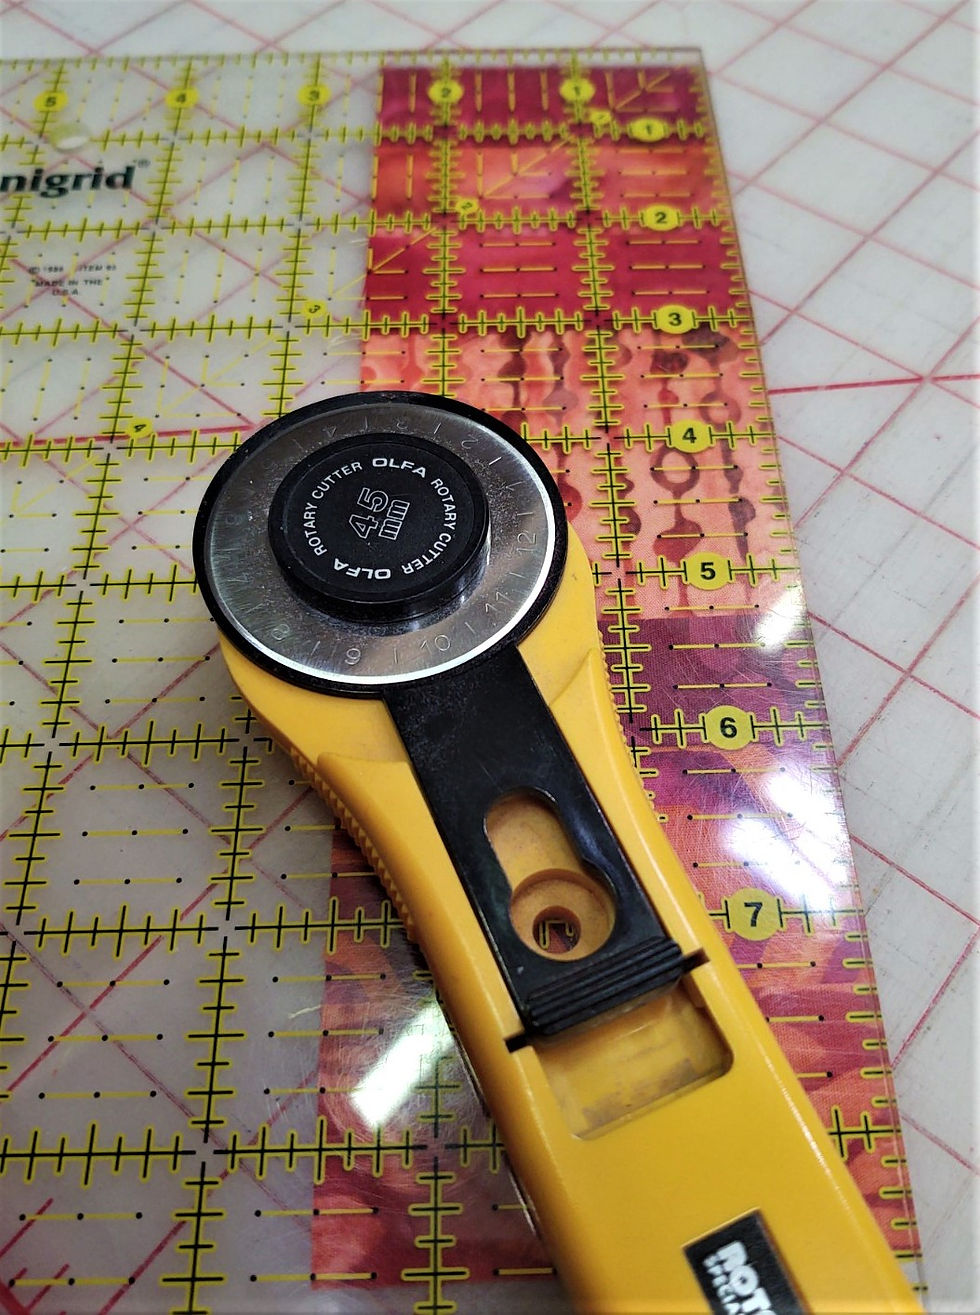
Step 4: Square the colorful block centers to measure 2 1/2" x 8 1/2".
I like to use a squaring ruler that is a little larger than required for a block center like this one. This is my 9 1/2" squaring ruler, so have plenty of room to hold onto the ruler and cut comfortably.

Step 5: Cut as many rectangles of your solid fabric as you need. I had 49 block centers so I needed to cut 98 rectangles 3 1/2" x 8 1/2".
When working with a batik fabric with at least 43" of usable width, you can cut 5 rectangles from each width of fabric (WOF) cut. I divided 98 by 5 and knew I needed to cut 20 strips 3 1/2" x WOF. I then cut 5 rectangles from each strip, which gave me 2 more than I needed.
Pin your block centers to one rectangle.
Stitch.
Press toward the solid.
Repeat with the second rectangle of solid on the other side and again, press toward the solid. These blocks will measure 8 1/2" x 8 1/2".

Step 6: Layout your completed blocks.
I turned every other block as I arranged my blocks. This leaves me with no need to nest seams, which makes the piecing of the rows come together easily.
I pieced in rows pressing the odd rows to the right and the even rows to the left, then stitching my rows together to complete the project.

Here's is my finished top measuring 56" x 56". I really love the results.
I sent this to a friend who says they look like the multicolored fruit popsicles she used to get as a child. Another friend said it reminds him of the Pac-man maze. I can't wait to do this one again in greens, blues, and purples.

From last week, my pocket project is now quilted in the ditch with a walking foot and bound. I attached a hanging sleeve to the back of the top and am ready to put it on the wall when my studio space is complete. You can see how many little doodads you can fit in the pockets! It's perfect for keeping track of the necessities for the in-progress project.
This week I am so excited to have Vasudha Govindan from Storied Quilts in Houston, Texas as our guest designer! Her motto is there is a story for every quilt and a quilt for every story. I can't disagree at all! Vasudha is offering us a project on Hearts on Point this week and I think you will enjoy the way she writes and how approachable she makes her projects. You will love reading through her project blogs and seeing her many finished quilts!
Don't forget the last Saturday in July I am hosting a class on making booties for The Mourning Project. Mary Vaneecke will be teaching a variety of methods to make booties for this laudable art project calling attention to infant mortality in the United States. Visit my website HERE and click on the Book Now button to sign up today!
Thank you all for joining me for another week! We'll be back next Thursday with another project and a guest blog from Elizabeth DeCroos at Epida Studio. Stay tuned scrap fiends!


Hari Nagar escorts are renowned for offering people looking for an unforgettable experience excellent companionship Hari Nagar Escorts Agency. These escorts' charm, beauty, and impeccable social skills allow them to create a relaxed and comfortable atmosphere for their clients.