Just My Type by Tamarinis from Island Batik
- Swan Amity Sheridan
- Dec 9, 2020
- 4 min read

Just My Type is exactly what this fabric is and it is so fun to work with! Tamarinis has made me so happy with this line and Island Batik has produced it in gorgeous colors that honestly make my day. I'm so happy I get to share it with you.
As some of you know, I'm an English geek. My degrees are in English and Literature. The written word, grammar, synonyms, word play, scrabble: these are my jam. When another designer tells me she's making a line of fabric all about letters and punctuation, I just about fall out of my chair with excitement. I know. I'm a huge nerd.

Seriously though, it's beautiful fabric and I can't tell you how much fun I have had making things with it. This fabric contains all over punctuation, big letters that look like they hopped off an antique typewriter for you, exclamation points, and the classic writer's coffee mugs complete with little steaming hearts. As you can see, the colors are all relaxing energy, with beautiful bright spots of lime and turquoise.
As I get ready for my own holidays gift giving, I wanted to give you a smaller project you can make with this fabric that would be fun to create for your own family and friends.
Here's what you need to make a unique mug rug with Just My Type:
choose one of the typewriter fabrics with the big letters on it
freezer paper for turned applique
fusible (about a half yard) to avoid turned edge applique
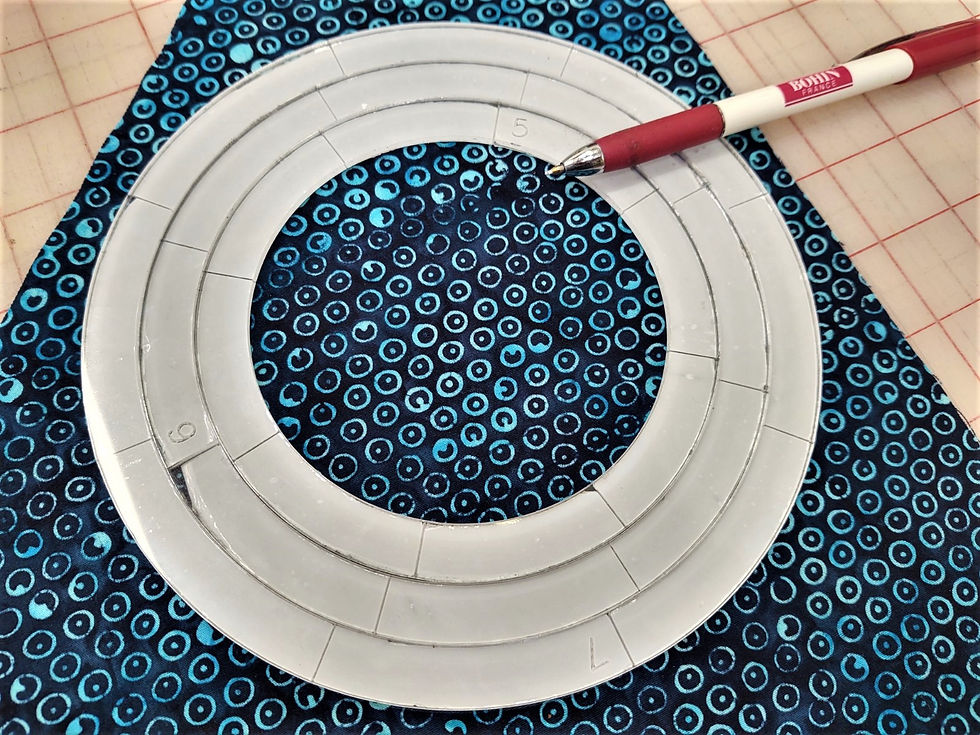
circle templates 1", 3", 4", and 7" or similar sizes
1/4 yard of Timtex or a similar material
3 coordinating fabrics (nothing larger than an 8" x 8" scrap)
1 or 2 coordinating threads
a glue stick
Step 1.

On your background fabric, trace a 7" circle and a 4" circle centered inside of it.
Cut this out with a generous seam allowance. I used a 1/2" seam allowance all the way around.
I love these templates from Quilters Rule.
Step 2.

Trace a 3" circle and a 4" circle on your fusible.
Follow the directions on your fusible material to fuse to the wrong side of your fabric.
Usually there is no wrong side to a batik, but when working with a fabric that has letters and punctuation, you'll want to be sure you are going to have the right side visible.
Step 3.

Decide what message or name you might like to spell on your project and cut the appropriate number of 1" circles from your freezer paper for turned edge applique or trace that number of 1" circles on your fusible.
Cut out and prepare each of your letters. 1" is just big enough to easily fit each letter on and make you look like a fabulous fussy cutter.
Step 4.

Peel the paper off your fusible pieces and fuse the smaller circles to the center of your background circle. Alternately, you can applique this by hand if you like.
Step 5.

Add the letters, evenly spaced in the orientation you prefer. Make sure you're staying well away from your seam allowance. I opted to fuse both the center circles and to hand applique the letters to give them a little puff.
Step 6.

Cut a 7" circle from the Timtex and center on the wrong side of the background circle. Use a glue stick on the edge of the Timtex circle to pull the seam allowance over the edge of the circle and stick it down. Use your fingers to smooth out the edge of the circle as you go.
Step 7.

Choose a coordinating thread and stitch out the raw edges of any fused circles in your project. Have fun with this part! Change threads, use a variegated thread.
Step 8.

Trace a 7" circle on your fusible material and fuse to your backing fabric.
Cut out the 7" circle of background material and fuse it to the back of your project.
Step 9.

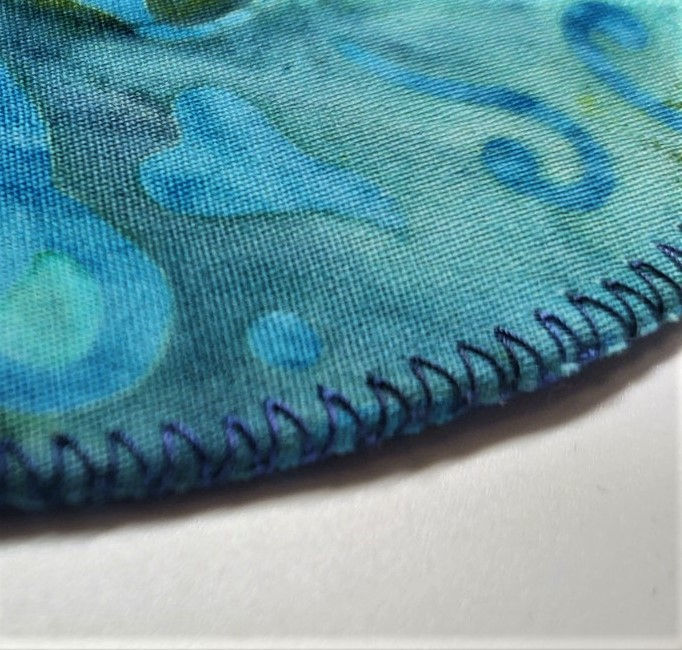
Stitch the edge of the mug rug all the way around and bury the tails of your thread in the project or use a knotted stitch at the end.

Your competed projects will be the perfect gift. Personalize them with names or initials. Add "LOVE" to the opposing edge if you like. Spell CAFFEINE for your favorite coffee addict. Spell out "GET BETTER" for that bed tray when someone in your home is feeling poorly. Spell out STUDY HARD for your college student. There are just so many options and you can spell them all with Just My Type.

Are you as in love with Just My Type batik as I am? Join me in January to make this fun lap quilt, #quilt in my January Quilt Along. We'll be looking at multiple applique techniques and having a ball together.
See the image below for the program details and sign up today.
Kits are available in two color ways.

I hope you've enjoyed this project and don't forget to keep on hopping with the other blogs this week! There are some great designers offering you some beautiful ideas. Have fun and and stay safe this holiday season.
Jennifer Thomas Curlicue Creations Blog 12/8/2020
Shayla & Kristy Wolf Sassafras Lane Blog 12/9/2020
Kris Poor Poorhouse Quilt Designs Blog 12/10/2020
Kate Colleran Seams Like a Dream Blog 12/11/2020
Annie By Annie Blog 12/11/2020
Tammy Silvers Tamarinis Blog 12/11/2020


While revising Vyakaran Ke Bhed, I was amazed to see how systematically everything in Hindi is classified. Each category has a specific rule, and understanding them builds precision in writing. Grammar isn’t just about correctness—it’s about expressing thoughts clearly and beautifully.
qwerty